

This section contains answers to frequently asked questions about the game that are not included in other sections of the guide.
Basic information about the game
On Friday.
Contacting the administration and complaints
Complaints will be accepted only in the community’s PM on VK and by email.
To file a complaint, you must:
1) Specify the server
2) Specify the name of your character
3) Specify the name of the offender’s character
4) Attach a screenshot or link to the video to your request.
Otherwise, your request will remain unattended.
Game settings and files
First, let’s define the terms:
Go to the address C:\ Users \ Username \ AppData \ Local \ WTL \ Saved \ Config (Using Windows 10 as an example. In other versions, the folder location may differ).
We see the file “MapMarkers_Cifry1_Player1.bin”. There may already be a file there “MapMarkers_Cifry2_Igrok2.bin”, or maybe not – it doesn’t matter. Just delete it and follow the guide.
We copy this file and paste it right away. The resulting file is “MapMarkers_Numbers1_Player1_Copy.bin”
We are looking for the file “QuestStates_Numbers2_Player2.bin” – it will be there anyway.
Copy part of his name “Numbers2_Player2” – select the file, press F2, select the desired text, copy.
Next, simply rename the previously copied file from “MapMarkers_Numbers1_Player1_Copy.bin” in “MapMarkers_Cifry2_Igrok2.bin”
Let’s go into the game and enjoy the map markers.
Your old tags that were (if any) on the characterPlayer2 will be replacedfor new ones – from the characterPlayer1. Including data will be overwritten on the server!
Windows setup
If you don’t see the AppData folder or file extensions, you can enable their display (for Windows 10):
Open any folder, any at all. In the top menu, click “View” and check “File name extensions” and “Hidden items”.
For other versions of Windows:
Open “Control Panel”, then “Explorer Options”, then the “View” tab, then uncheck the boxin“Hide extensions for known file types” and select “Show hidden files, folders, and drives”. Click “OK”.
Such manipulations may require Administrator rights.
You need to delete the file that stores the graphics settings. After deleting the file, you will have to re-configure all the settings.
1) Open Explorer.
2) Paste this address into the address bar. %AppData%\..\Local\WTL\Saved\Config\WindowsClient
3) Delete the GameUserSettings.ini file
To send logs, you need to:
1) Open Explorer.
2) Paste this address into the address bar.
%AppData%\..\Local\WTL\Saved\Logs
3) Find and send the wtl.log file
You need to immediately extract this file after the freeze and before restarting the game.
Technical problems and errors
To access the game, players residing in Ukraine must use a VPN.
This is due to the fact that the game servers are located in Russia, and Ukrainian providers, in accordance with sanctions, have restricted access to them.
This can happen if you have mobile Internet or, for example, the Windows Defender application prevents the game from connecting to the server (sometimes Windows asks: “Allow the application to connect to the network” – this can also happen)
Maybe this article will help to check this point:
https://remontka.pro/exclusions-defender-windows-10/
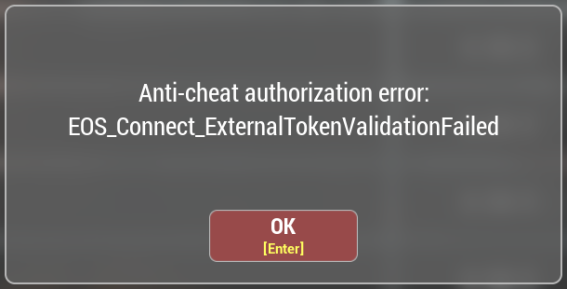
If the EOS_NoConnection error is displayed on the screen, this is almost always due to problems with the Internet provider, temporary restrictions from Roskomnadzor, or failures in the operation of DNS servers in Russia. This error means that you do not have a connection to the Epic Games service servers that are responsible for the operation of Easy-Anticheat (the servers are located abroad).
https://remontka.pro/flush-dns-cache-windows/
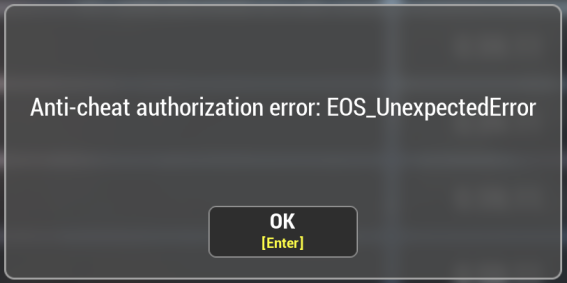
If the error EOS_UnexpectedError is displayed on the screen, you should just wait. Usually, the problem goes away after half an hour.
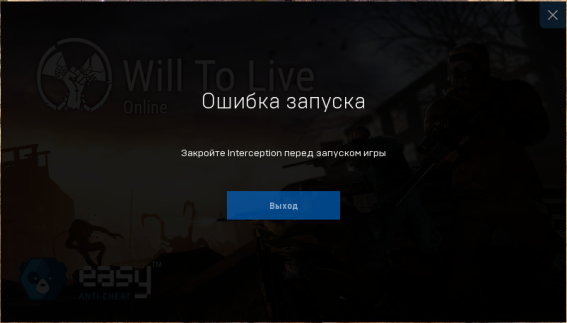
1. Download the program distribution:Download.
2. Copy the “command line installer” folder from the archive to any convenient directory.
3. Place the file “uninstall.cmd” into the copied folder:Download.
4. Run “uninstall.cmd” as Administrator (Right-click on the file, menu option “Run as Administrator”).
5. Restart your computer.
https://drive.google.com/file/d/1Im3hMCFwJ7S_DyR7P-6ymOFOQdf5djyg/view
https://drive.google.com/file/d/1Mq9yqYTEtsrnMIsguwWy-YsUeKtmeEv9/view
Problems with EAC occur due to the following reasons:
1) You have an outdated operating system installed. We recommend using the latest version of Windows 10 or Windows 11. Use Windows Update to install the latest version of Windows.
2) Required libraries are not installed:
Try installing these libraries:
https://aka.ms/vs/16/release/vc_redist.x64.exe
https://download.microsoft.com/download/c/d/2/cd274fa6-0d64-4b70-bd90-ec9a2e395da4/vcredist_x64.exe
3) Windows system files are damaged.
– Open the Start menu;
– Enter “cmd”;
– Right-click on the Command Prompt item and select the “Run as administrator” option;
– Enter the command “DISM.exe /Online /Cleanup-image /Restorehealth and wait for DISM to update”;
– Enter the command “sfc /scannow” and press Enter;
– Follow the instructions to check the integrity of the files.
4) Try reinstalling EAC manually.Installeranti-cheat is located in the “EasyAntiCheat” folder in the directory where the game is installed. Use the fileEasyAntiCheat_Istall.one
In short, it’s just something with Windows.
P.S. If this error occurs to everyone at once, then it is a problem with the anti-cheat. You should just wait for the problem to be solved.
1) Turn off the router for 10 minutes
2) Turn on the router
3) Clear Windows DNS Cachehttps://remontka.pro/flush-dns-cache-windows/
4) Restart your computer after clearing the DNS cache
5) Try to enter the game
To reduce their number, try to enable the option “cache” game files in the “game” section. This may lead to longer loading times at the initial stage, but will reduce “microfreezes” during the game.
To solve problems with sound and microphone, try installing these libraries:
https://www.microsoft.com/ru-RU/download/details.aspx?id=40784
https://www.microsoft.com/ru-ru/download/details.aspx?id=48145
Also, after that, try clicking “Reset current”, “Apply” and “OK” in the sound settings.
If you do not use any third-party software (including macros, aiming, etc.), due to which disconnection from servers may occur, then you need to make sure that your Internet is working stably. There are no other reasons or additional options.
Blocks and anti-cheat
The game administration does not control or influence VAC bans.
What is VAC?
VAC (Valve Anti-Cheat) is an automated system designed to detect cheats on users’ computers. If a user connects to a VAC-protected server from a computer that has recognizable cheats installed, they will be blocked by the VAC system and will no longer be able to play that game on VAC-protected servers.
A VAC ban is permanent, non-negotiable, and cannot be removed by Steam Support. If you are mistakenly subject to a VAC ban, it will be removed automatically.
More details on the official Valve/Steam page:https://help.steampowered.com/ru/faqs/view/571A-97DA-70E9-FF74#consequences
Donate and in-game purchases
To replenish credits, it is recommended to use the Market.VK.Play platform at this link: https://market.vkplay.ru/shop/115/
The code for replenishing the balance on the account can be activated on any of the platforms (Steam orVKplay) directly in the game itself (shop – activate code).
Account inventory is a convenient storage for donation items, which is not limited by weight or number of slots. It automatically receives all purchased items from the premium store and opens access to them from any server or character. When you activate Premium status, you can not only take, but also add items to the account inventory, which makes it easier to move donation items between characters and servers.
Premium storage can only contain items that were purchased in the store for a donation, with the exception of food and gasoline, which cannot be put back.
Gameplay and limitations
No. There was, is, and will be no such function.
The ability to exchange items and tokens between players or interact with the mailbox appears at character level 5 and after 8 hours of play on a specific character.
*Последнее обновление страницы было 07.09.2025 пользователем ODESSAmamaUA. Самую актуальную информацию по WTL смотрите ТУТ .
