
Adventure #1
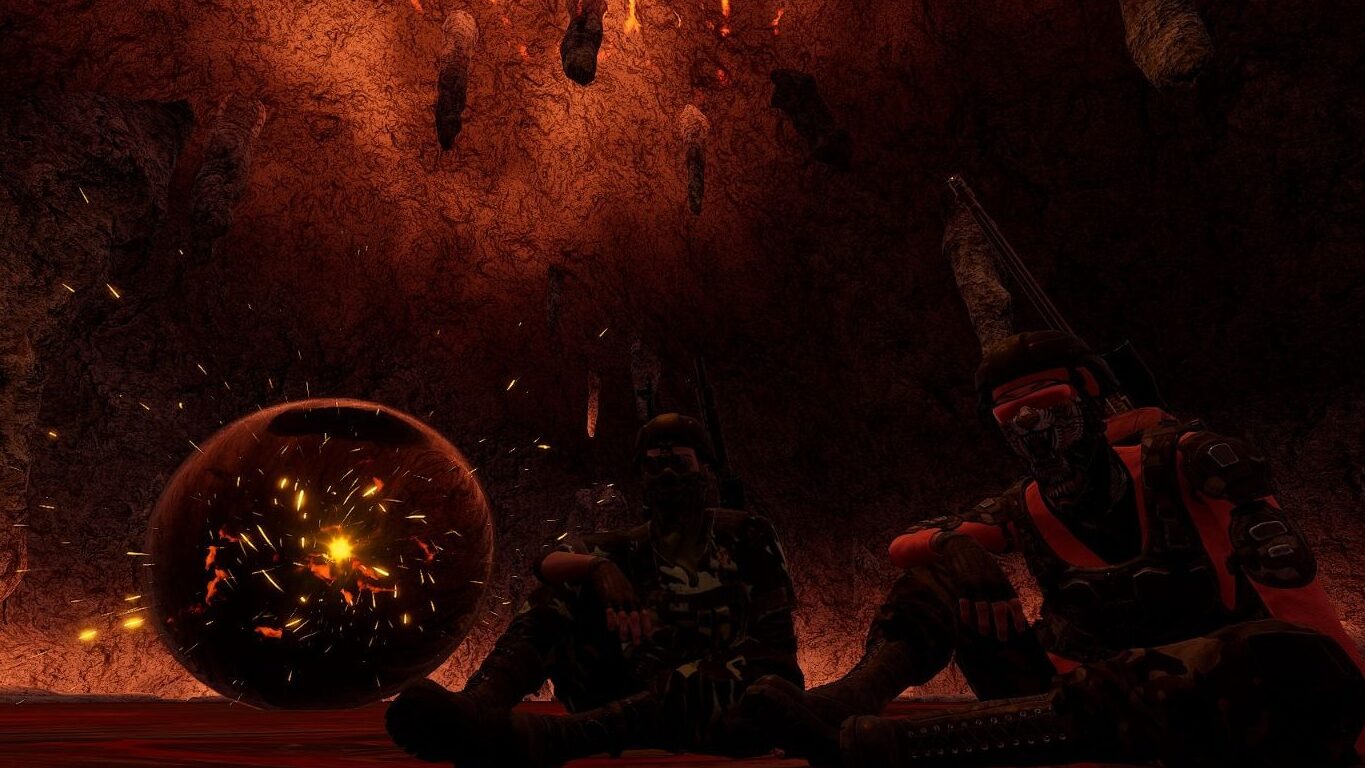
Adventure #3
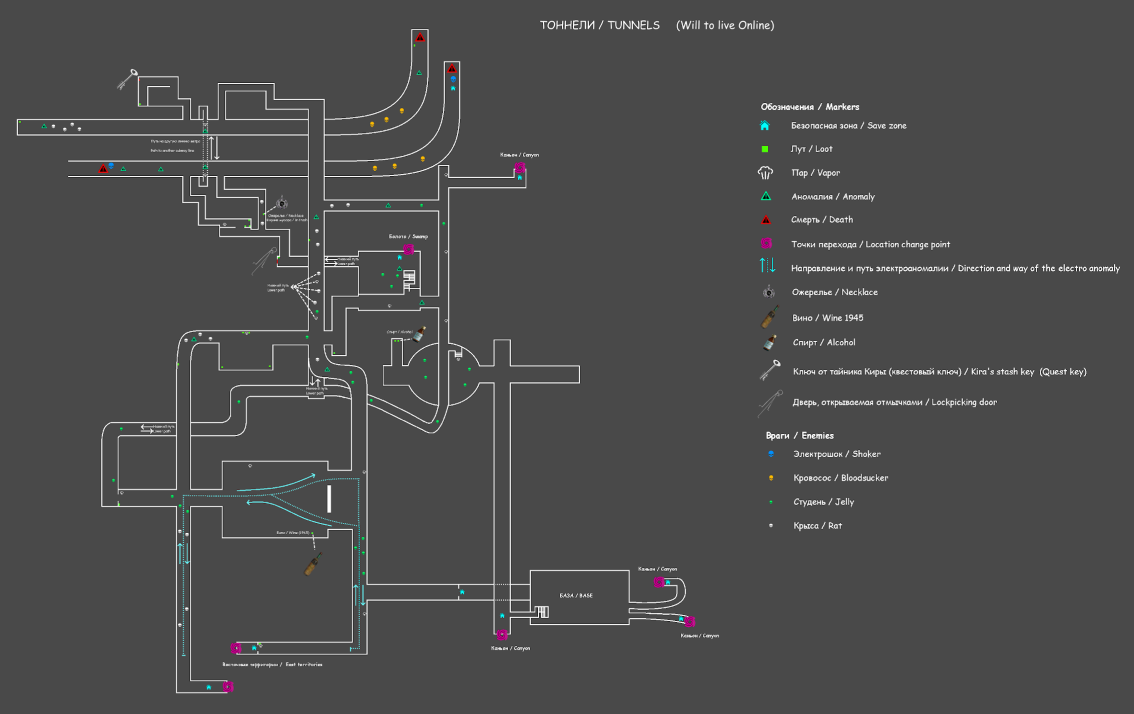
Access to the “Adventure #3” location opens at character level 35. To get there, you need to talk to the NPC Adventure Master, located in the tunnels – in a dead end of the railway branches where bloodsuckers live.
According to the game’s lore, the “Adventure #3” location belongs geographically to the Coast region.
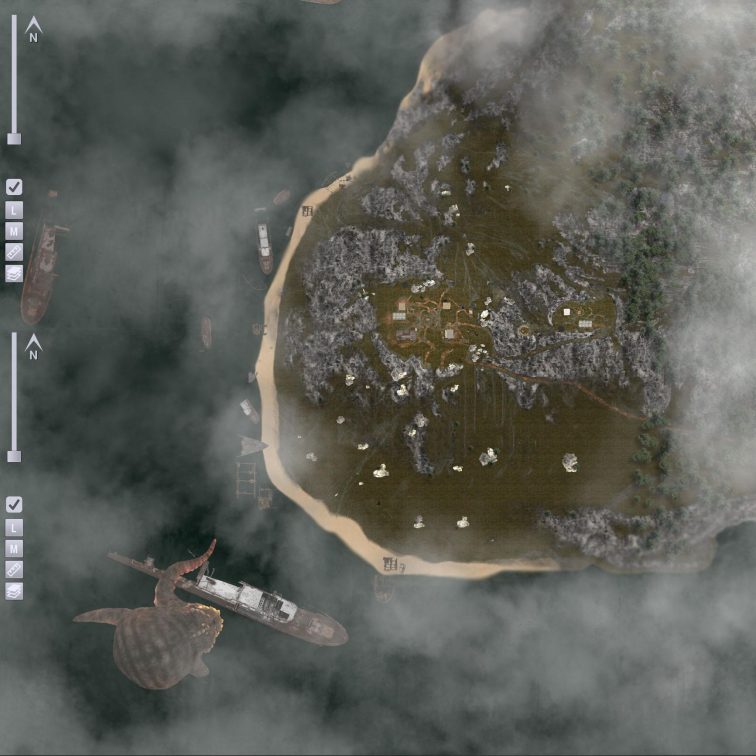
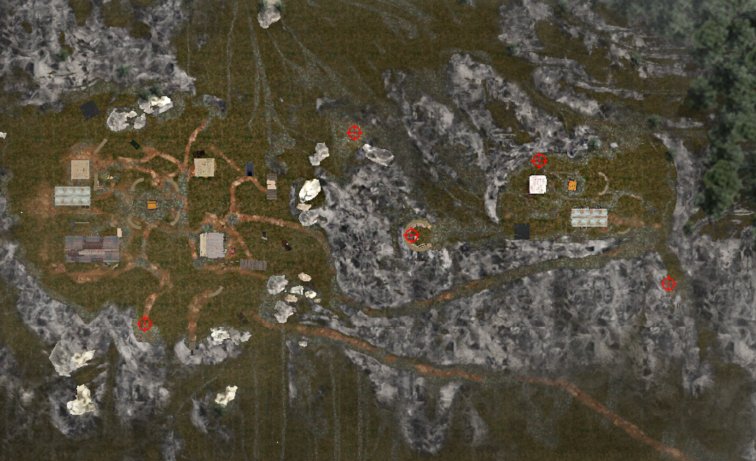
Despite the impressive size of the location, only a limited central zone is available to players. When attempting to leave it and get too far from the base, the character begins to take environmental damage, making a full exploration of the entire territory impossible.
The location has a No-PvP mode – it is impossible to deal damage to other players, even if they belong to hostile factions.
The location does not contain loot spawn points, merchants, storage, or other standard game objects, as it is intended exclusively for participating in special events. The only useful objects are several stationary PKM machine guns, each equipped with a supply of ammunition.
PvP Arena
Access to the PvP arena is available only for faction members. To move to the location, you must talk to the NPC (Arena Master) in the Tunnels. Each faction has its own respawn point, where players will be directed automatically. The location features a match mechanic. 1 battle lasts 10 minutes, during which a kill counter is running, making it convenient to arrange competitions between factions. At the end of the match, all players automatically return to the respawn. The break between each match is 2 minutes.
It is possible to buy supplies at the location, but prices are higher than in the Tunnels.
It is impossible to grind or lose faction reputation and ranks at the location. There are no mobs and loot on the locations.
Upon entering the location, an automatic message is created in the faction chat (simultaneously in both factions) that you have moved to this location, which is visible to all faction players.
MTE
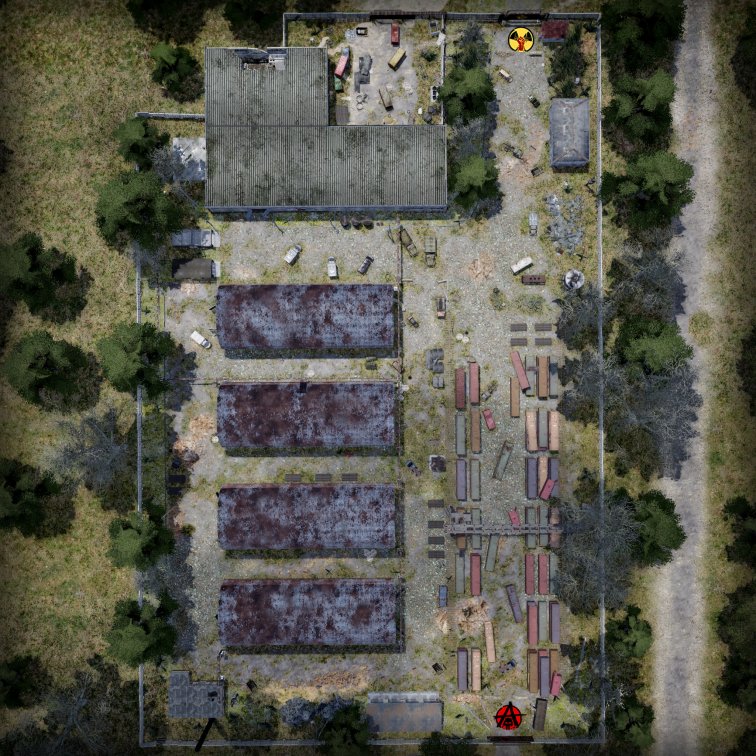
Hospital
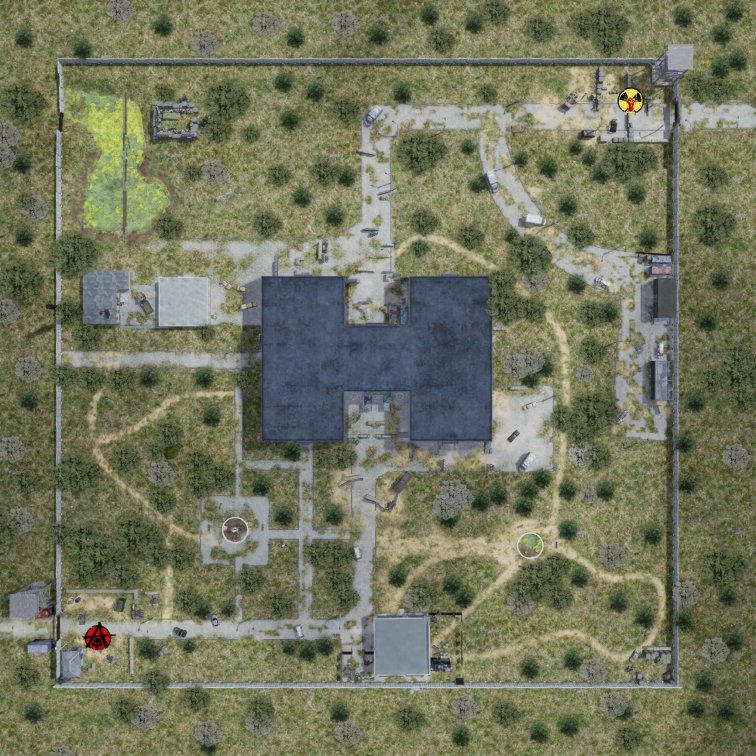

Ready-made map markers file (MapMarkers)
We have prepared an up-to-date file with the most important map markers. After installation, you will get ready-made marks for quest points, mob spawn locations, fuel collection points, transitions, radio teleports, artifacts, and other useful objects. We tried to fit as much information as possible within the available limit — 100 markers per location.
This file will be useful for beginners who want to get comfortable in the game faster, as well as for experienced players (especially those playing multiple characters) so they don't have to place all the markers manually.
Enjoy the game!