

This section contains answers to frequently asked questions about the game that are not covered in other sections of the guide.
Basic Game Information
To get up-to-date information, contact developers, and participate in the community life, use the following official platforms:
For the game client to work stably, your device must meet the following specifications:
Minimum Requirements:
OS: Windows 10 (64-bit).
Processor: Intel Core i3 3.1 GHz or equivalent.
RAM: 12 GB.
Video Card: NVIDIA GeForce GTX 1050 Ti / AMD Radeon R9 280.
DirectX: Version 11.
Network: Broadband Internet connection.
Disk Space: 30 GB of free space.
Recommended Requirements:
OS: Windows 10 / 11 (64-bit).
Processor: Intel Core i5 12400 / AMD Ryzen 5 5600.
RAM: 16 GB.
Video Card: NVIDIA GeForce GTX 1060 or higher.
DirectX: Version 12.
Storage: SSD (recommended for fast location loading).
Disk Space: 30 GB of free space.
You can read the full text of the License Agreement (EULA), which governs the use of the game and the rights of the parties, at the following link:
On Friday.
Contacting Administration and Complaints
For all questions related to gameplay, technical problems, or in-game situations, you can contact the following official addresses:
- Email: support@willtoliveonline.com
- VKontakte Community: via the private message system on the official page https://vk.com/wtlonline
In case of critical errors, “crashes,” or game freezes, technical support may require a log file of your game client to promptly identify the cause.
Instructions for finding and sending logs:
- Open File Explorer (Windows Explorer).
- Copy and paste the following path into the address bar:
%AppData%\..\Local\WTL\Saved\Logs - Press Enter to go to the specified directory.
- In the opened folder, find the file named wtl.log. This is the main log of the current session.
Critically important: You must copy and send the file immediately after the error occurs or before restarting the game. Each time the game is launched, the wtl.log file is automatically cleared and overwritten, resulting in the irreversible loss of data about the previous crash.
When contacting technical support, attach this file to your email or message with a detailed description of the circumstances under which the error occurred.
Complaints about violations of the game rules are accepted exclusively through private messages of the VKontakte community or via the technical support email.
For your complaint to be reviewed, the appeal must include the following data:
- Name of the server where the violation occurred.
- Your character’s name.
- The violator’s character name.
- Evidence of the violation: attach a screenshot or a direct link to video material.
Please note: The administration reserves the right not to consider appeals that lack any of the above items or do not provide evidence of the violation of the game rules.
Game Settings and Files
This guide is for those who have created an alt character and want to transfer all map markers, as well as friends and enemies lists (the latter is relevant only if the alt was created on the same server as the main character).
This guide may also be useful if you plan to reinstall the system or upgrade your computer. We recommend saving the files listed below to a flash drive in advance. Usually, this data is stored on the game server, but sometimes due to synchronization issues, lists or markers may get corrupted. By saving the files, you protect yourself from potential data loss.
Basic Concepts
- CharacterMapMarkers — file with your map markers.
- ContactList — file with friends and enemies lists.
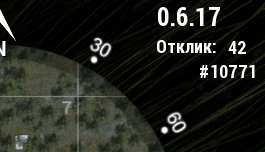
- Character ID (Digits) — a unique number (3–6 digits). The ID is displayed in the game itself in the upper right corner (next to the client version and ping).
- Player 1 — source character (copying from).
- Player 2 — recipient character (transferring to).
Important: It is recommended to perform all manipulations while the game is closed. These actions do not violate the license agreement and do not lead to account blocking.
Transfer Instructions
- Go to the settings folder:
C:\Users\User_Name\AppData\Local\WTL\Saved\Config
(Path is valid for Windows 10, may differ slightly in other versions).
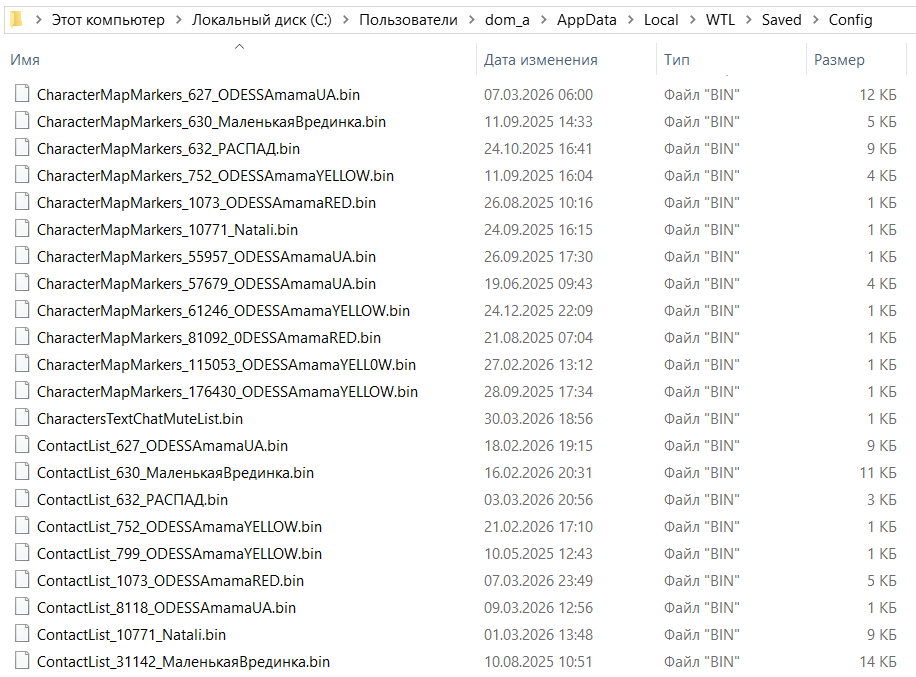
- Preparing files: Find the file of the required type, for example: MapMarkers_Digits1_Player1.bin. If there is already a similar file for Player 2 in the folder (MapMarkers_Digits2_Player2.bin), delete it.
- Copying: Create a copy of Player 1’s file in the same folder.
- Clarifying Recipient ID: To avoid mistaking Player 2’s ID, find the file QuestStates_Digits2_Player2.bin (it is always present in the folder). Press F2 and copy the part of its name: Digits2_Player2.
- Renaming: Take the created copy of Player 1’s file and rename it by pasting the copied Player 2 data. It should turn out as: MapMarkers_Digits2_Player2.bin.
- Completion: Enter the game. Player 2’s old markers or lists will be replaced with Player 1’s data. The new information will automatically synchronize with the server.

Ready-made map markers file (MapMarkers)
We have prepared an up-to-date file with the most important map markers. After installation, you will get ready-made marks for quest points, mob spawn locations, fuel collection points, transitions, radio teleports, artifacts, and other useful objects. We tried to fit as much information as possible within the available limit — 100 markers per location.
This file will be useful for beginners who want to get comfortable in the game faster, as well as for experienced players (especially those playing multiple characters) so they don't have to place all the markers manually.
Enjoy the game!
Configuring Folder Display in Windows
If you do not see the AppData folder or file extensions (.bin), change the explorer settings:
For Windows 10:
- Open any folder.
- In the top menu, select the “View” tab.

- Check the boxes for “File name extensions” and “Hidden items”.
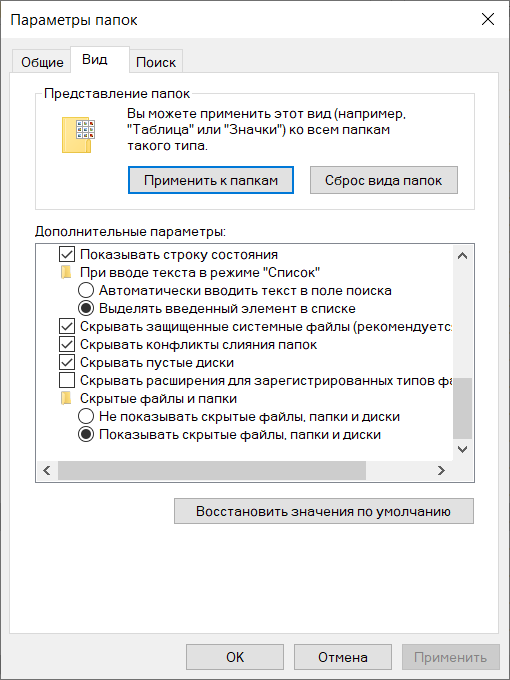
For other Windows versions:
- Go to “Control Panel” → “File Explorer Options” → “View” tab.
- Uncheck “Hide extensions for known file types”.
- Select “Show hidden files, folders, and drives”.
- Click “OK”.
Note: Administrator rights may be required to make changes.
If the game stops launching or works incorrectly after changing graphical parameters, you can manually reset the configuration to default values.
Instructions:
- Open File Explorer (any folder).
- Navigate to the path: paste the following line into the address bar and press Enter:
%AppData%\..\Local\WTL\Saved\Config\WindowsClient - Delete the file: find GameUserSettings.ini and delete it.

At the next launch, the game will automatically create a new GameUserSettings.ini file with factory settings. Note that after this, you will need to re-configure graphics, sound, and controls to your preferences.
Technical Issues and Errors
In case of any software failures, launch errors, or incorrect operation of the game client, the first step is to verify the integrity of the game files. This procedure allows you to identify and automatically restore damaged or missing client data.
Instructions for verifying file integrity
In Steam:
- Open your Steam Library.
- Right-click on the game name and select “Properties”.
- Go to the “Installed Files” (or “Local Files”) tab.
- Click the “Verify integrity of game files…” button. Wait for the process to complete and for missing components to download automatically.
In VK Play:
- Open the VK Play Game Center.
- Find the game in the list and click the “arrow” icon (or “three dots”) next to the “Play” button.
- In the drop-down menu, select “Check and repair installed game client files”.
- The system will scan the game folder and restore damaged data if found.
If the problem persists after performing the check and restore, proceed to search for a solution in the relevant subsections below:
No Server List (Ukraine)
Users from Ukraine need to use a VPN to access the game.
Reason: Game servers are territorially located in Russia. Due to current sanctions, Ukrainian Internet providers restrict direct access to these IP addresses. Using a VPN allows bypassing these network restrictions.
No Server List (Russia)
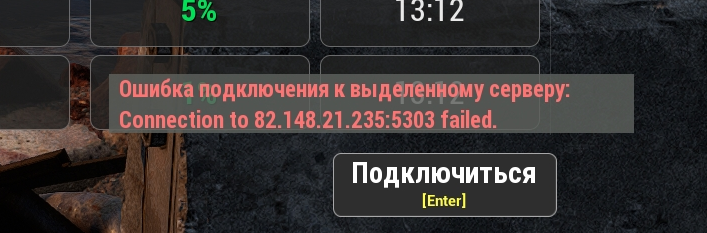
If the server list is not displaying, the issue may be related to a conflict in network settings.
Solution: Before launching the game, ensure that all third-party applications that modify network routing or proxy traffic (various VPN services, network filters, local proxies, etc.) are disabled. Such software can intercept or incorrectly redirect game traffic, causing the connection to game servers to be interrupted.

What else can be done? We recommend performing the following actions:
Run Command Prompt (CMD) as an administrator and execute the commands one by one:
ipconfig /flushdns— clear DNS cachenetsh int ip reset— reset TCP/IPnetsh winsock reset— restore Winsock configuration
Restart the system after executing the commands.
This can happen if you have mobile internet or, for example, the Windows Defender application prevents the game from connecting to the server (or Windows asks: “Allow app to access network” – this could also be it).
This article may help check this moment:
If the error EOS_NoConnection appears on the screen, it is almost always related to issues on the ISP side, temporary restrictions by Roskomnadzor, or failures in the operation of DNS servers within Russia. This error means you do not have a connection to the Epic Games service servers, which handle Easy-Anticheat (the server is located abroad).
- Try resetting the DNS cache: Instruction
- You can also specify alternative DNS servers in your internet connection properties: Instruction 1 or Instruction 2
- Disable third-party network filters and proxies (if they are running).
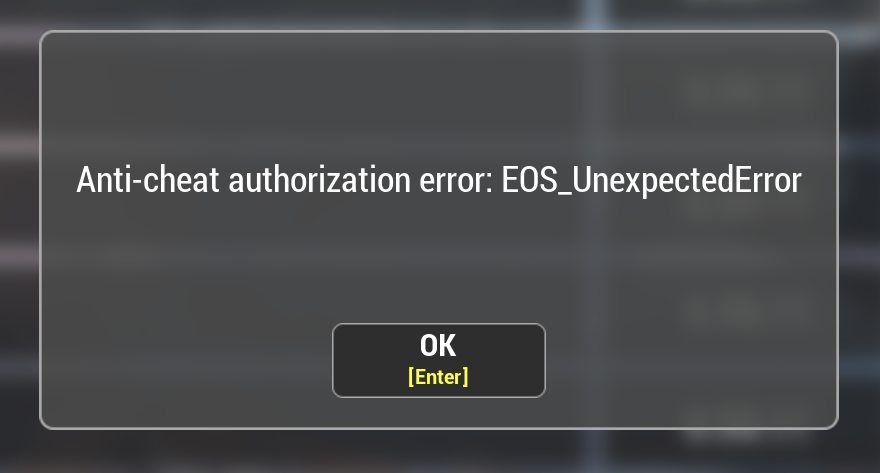
If the error EOS_UnexpectedError appears on the screen, we should just wait. Usually, the problem goes away after half an hour.
- Download the program distribution: Download.
- Copy the “command line installer” folder from the archive to any convenient directory.
- Place the file “uninstall.cmd” into the copied folder: Download.
- Run “uninstall.cmd” as Administrator (RMB on the file, menu option “Run as Administrator”).
- Restart the computer.
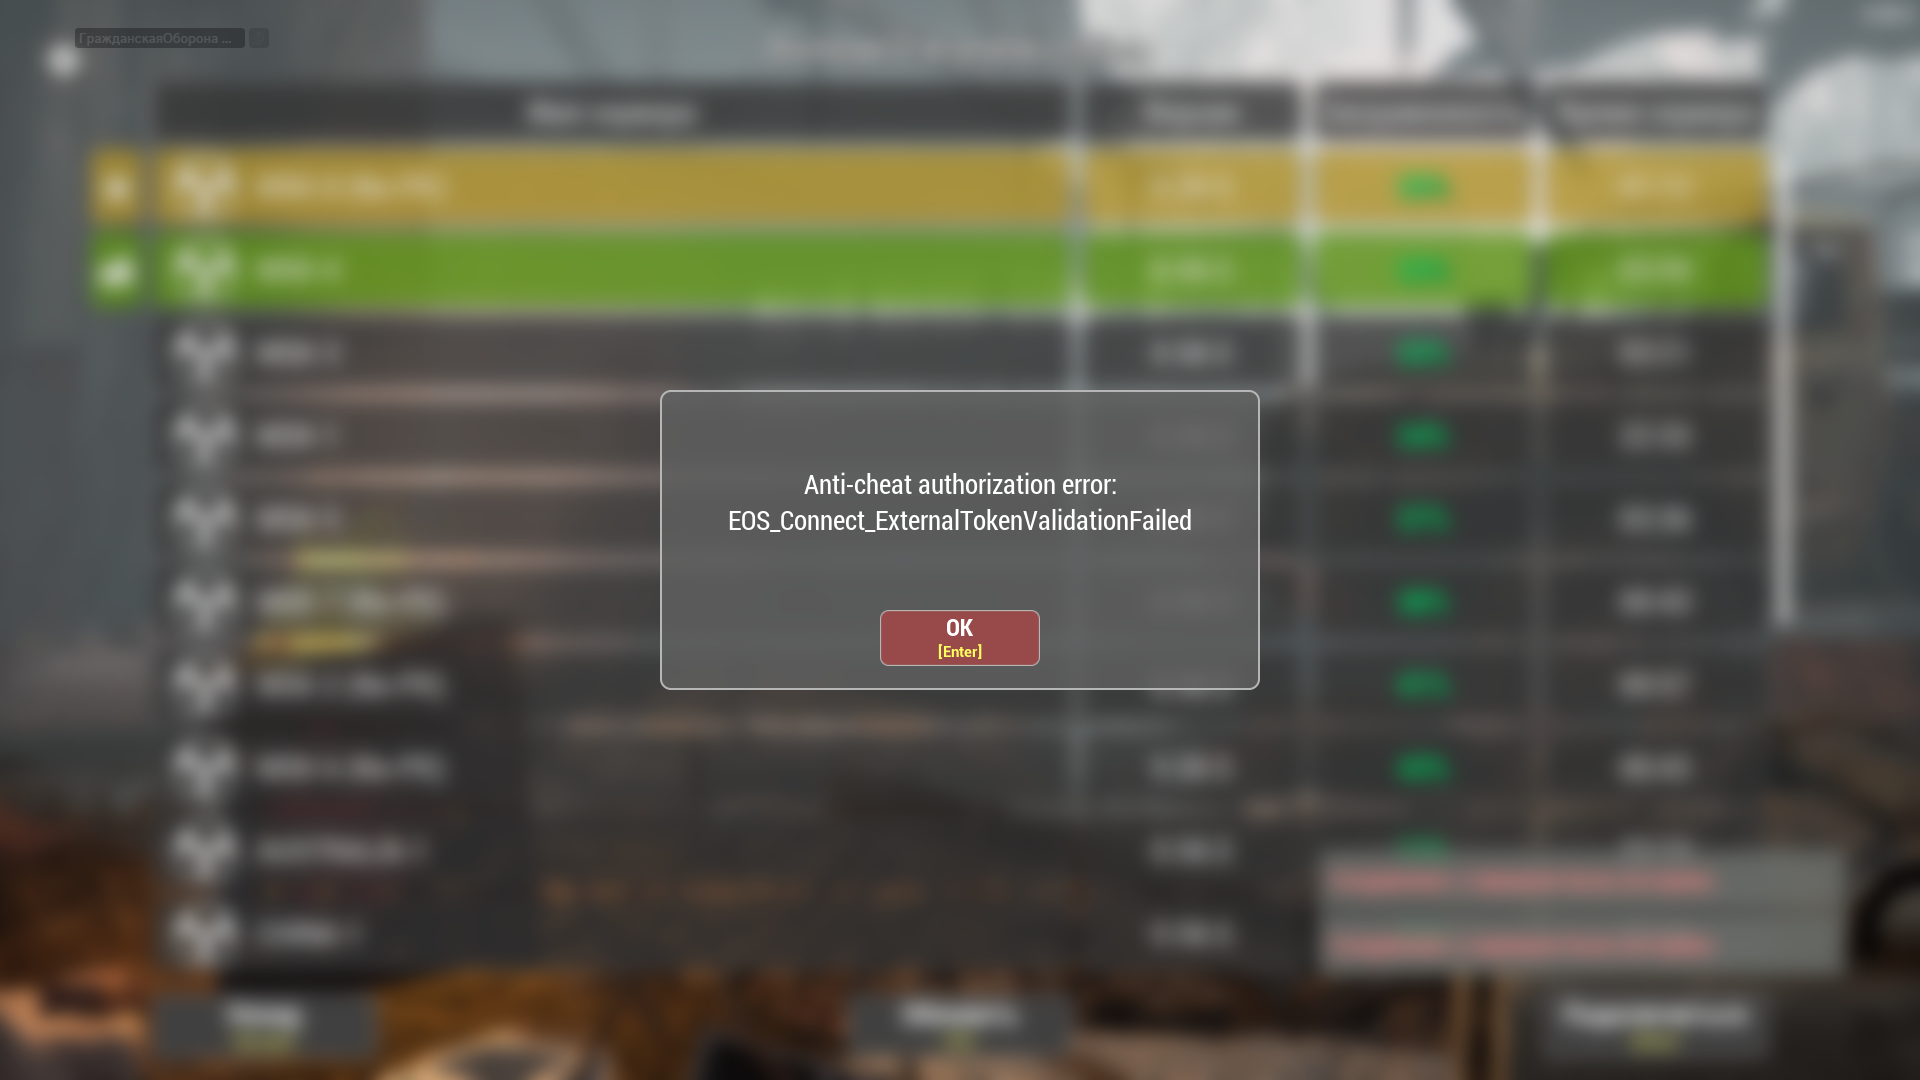
Problems with EAC occur for the following reasons:
- An outdated operating system is installed. We recommend using the latest version of Windows 10 or Windows 11. Use Windows Update to install the latest version of Windows.
- Necessary libraries are not installed. Try installing these libraries:
- Windows system files are corrupted.
- Open the Start menu;
- Type “cmd”;
- Right-click on Command Prompt and select “Run as administrator”;
- Enter the command
DISM.exe /Online /Cleanup-image /Restorehealthand wait for the DISM update to complete; - Enter the command
sfc /scannowand press Enter; - Follow the instructions to verify file integrity.
4) Try reinstalling EAC manually. The anti-cheat installer is located in the “EasyAntiCheat” folder in the directory where the game is installed. Use the file EasyAntiCheat_Istall.bat.
In short – it’s just something with Windows.
P.S. If this error happens to everyone at once, it means the problem is on the anti-cheat side. You should just wait for the issue to be resolved.
- Turn off the router for 10 minutes
- Turn on the router
- Clear Windows DNS Cache (Instruction)
- Restart the computer after clearing the DNS cache
- Try to enter the game
If other players cannot hear you, use the following methods to solve the problem:
- Updating system libraries
For the game’s voice chat to work correctly, certain Windows components are required. Install official library packages from Microsoft using the links below: - Resetting audio settings in-game
Sometimes the sound configuration can “hang”. To fix this:- Go to sound settings in the game.
- Click the “Reset current” button.
- Click “Apply” and confirm the action with “OK”.
- Error when changing character or server
In the current version of the game, there is a technical feature: voice communication may stop working if you switched to another character or changed server via the main menu (without fully exiting the client).
Solution: If you changed characters and the microphone stopped working — you need to completely close the game and launch it again.
If you are not using any third-party software (including macros, crosshairs, etc.) that might cause disconnection from the servers, then you need to ensure your internet is working stably. There are no other common reasons or options.
Bans and Anti-cheat
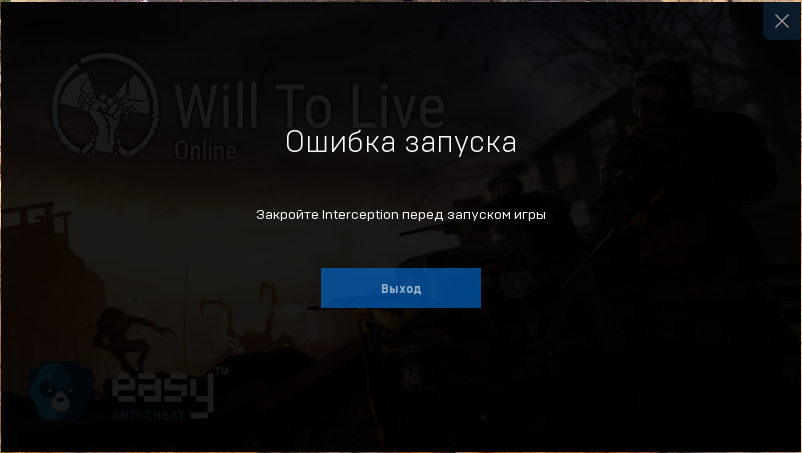
If, when attempting to connect to the server, the system forcibly returns you to the main menu (“kicks you”), it may be a warning about a subconsciously running process. In this case, you must immediately disable all third-party programs, otherwise, a temporary access restriction may turn into a (permanent) account ban.
The game administration does not control or influence VAC bans.
What is VAC?
VAC (Valve Anti-Cheat) is an automated system designed to detect cheats on users’ computers. If a user connects to a VAC-secured server with installed detected cheats, they will be banned by the VAC system and will no longer be able to play this game on VAC-secured servers.
A VAC ban is permanent, non-negotiable, and cannot be removed by Steam Support. If you mistakenly confirmed a VAC ban, it will be removed automatically.
More details on the official Valve/Steam page: Information about VAC
Donation and In-game Purchases
To top up credits, it is recommended to use the Market.VK.Play platform via this link: https://market.vkplay.ru/shop/115/
The code to top up the account balance can be activated on any of the platforms (Steam or VK Play) directly in the game (Shop – Activate Code).
For detailed instructions on activating the code, see the official game website: https://wtlgame.com/activatecode
Account inventory is a convenient storage for donation items, which are not limited by weight or number of slots. It automatically receives all purchased items from the premium store and provides access to them from any server or character. When activating Premium status, you can not only take out but also add items to the account inventory, which facilitates moving donation items between characters and servers.
Premium storage can contain only items that were purchased in the store for donation, with the exception of food, gasoline, and fuel, which cannot be returned to the store.
Gameplay and Other
It is impossible to know exactly when you installed and started playing the game. However, you can orient yourself by the date of creation of the first character.
The date and time of character creation are displayed:
- in the character selection menu on the server;
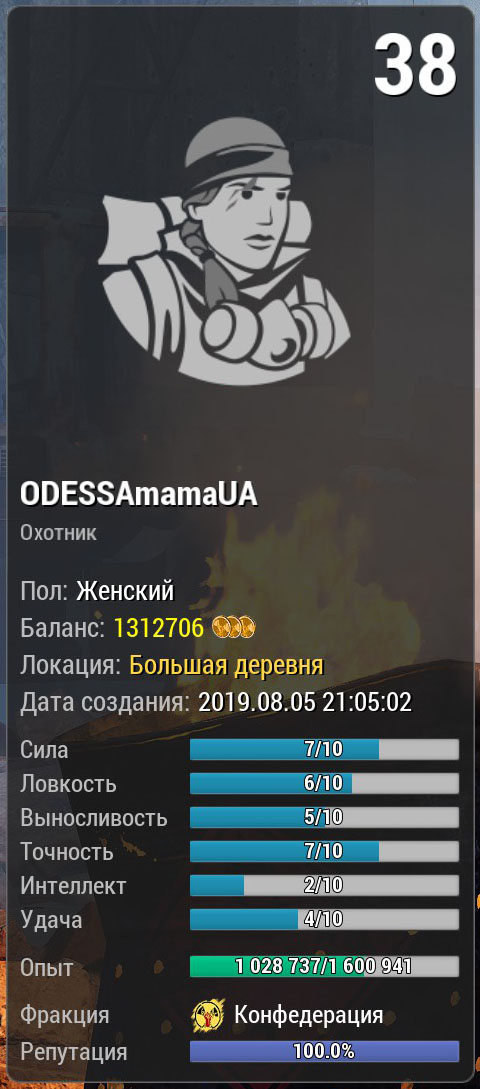
- directly in the game: PDA → “Character Information”.
If you bought the game before it became free-to-play (in 2019 or earlier), you can additionally check the purchase date in Steam:
- Open Steam.
- Click on your account name in the top right corner.
- Select “Account details”.
- Open the “Purchase History” section.
- Find the game in the list — the purchase date will be indicated next to it.
All character information is stored on the game server, not on your computer, so a character cannot disappear due to system reinstallation, computer component changes, etc.
If you cannot find your character, there may be several reasons:
- You are logging into the wrong server. Please check logging into each game server. It is quite possible that the character is on one of them. Names may change, for example, if the server was previously called “MSK-1”, it is now “RU-1 PvP”. If you haven’t played in a long time, you simply might not recognize your server.
- You logged into the wrong account. This confusion often arises in VK Play, as there are several authorization methods: via email, VK, etc. Log out of the account and try logging in using a different method — most likely, the character will be on the correct account.
- You played on the MSK-4 server. If you played on this server before 2023, then unfortunately, the character is no longer valid. On April 6, 2023, a wipe occurred on the MSK-4 server due to a technical error, resulting in the complete and irreversible loss of all character and clan data.
The game administration cannot restore such characters or compensate for lost time. However, if donation items that you bought in the premium store were lost along with the character, you can contact technical support and request compensation. To do this, provide your account details and attach proof of payment — receipts, screenshots from the purchase history in Steam.
No, such an option is not provided. Game worlds (servers) are isolated, and the account architecture of different platforms does not allow synchronization. This functionality is absent and its implementation is not planned in the future.
There are protective restrictions for new characters in the game. The ability to exchange items, transfer tokens, and interact with mail opens only when two conditions are met simultaneously:
- The character has reached level 5.
- Total game time (time in the world) for this character is at least 8 hours.
The visibility (render) range of dynamic objects (characters, mobs, etc.) is limited by the technical features of locations to ensure optimal performance:
- On main game locations: The render range is 300 meters. Objects located beyond this distance are not displayed.
- On the “Foothills” location: The render range is 1 kilometer.